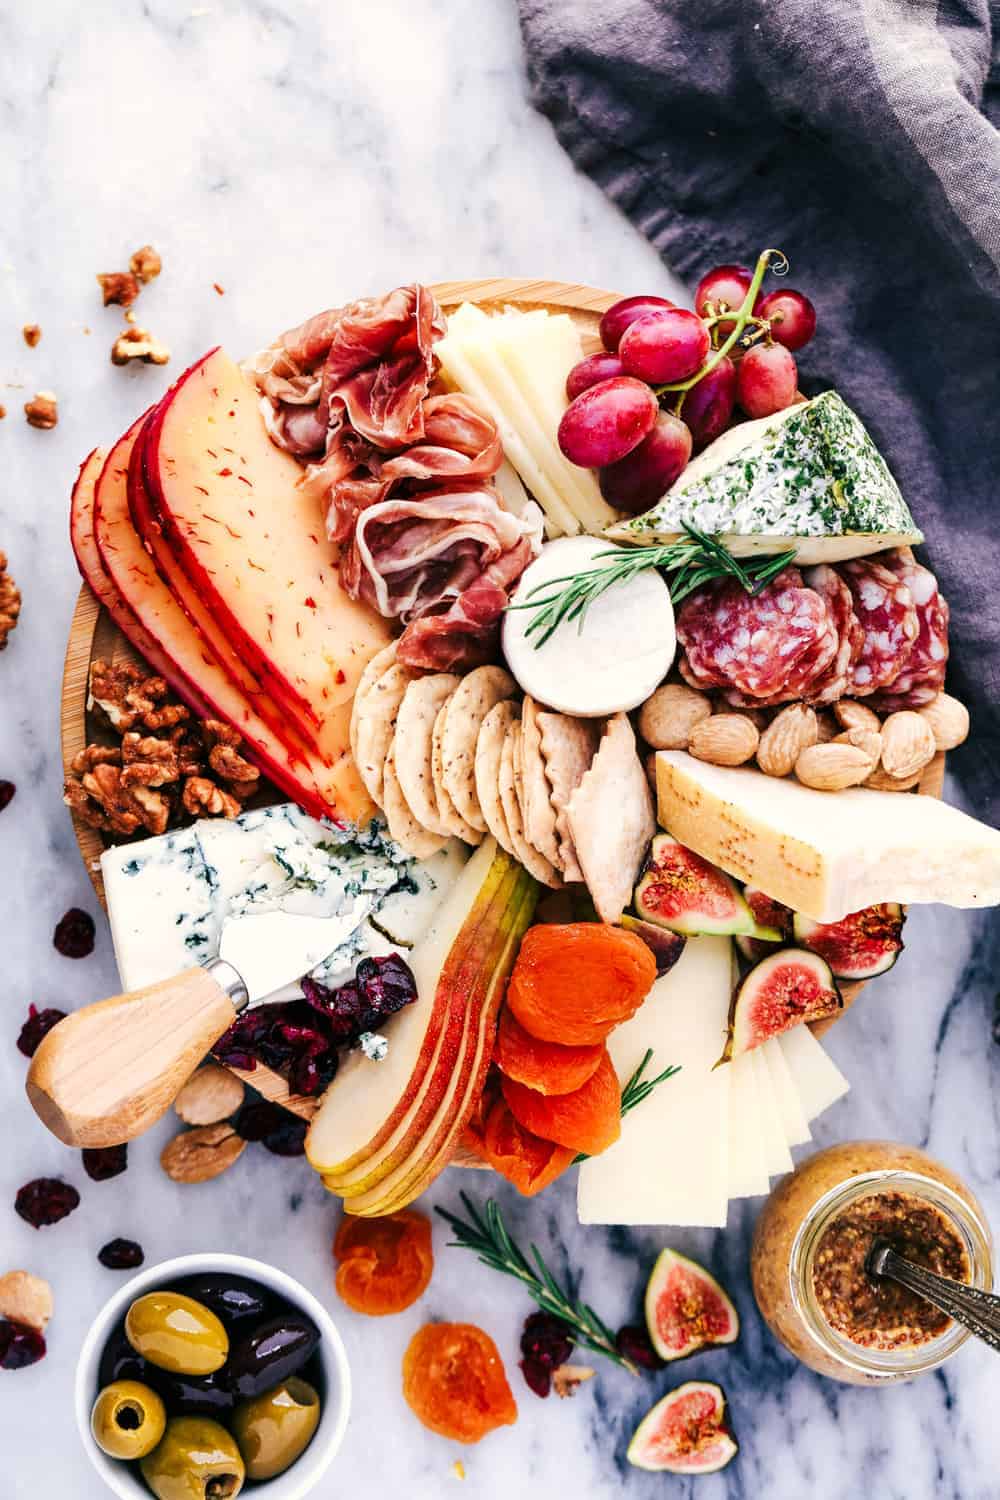
How to Make an Easy Cheese Board filled with meats, cheeses, nuts, and fruit. This makes a beautiful presentation at any gathering!
How to Make an Easy Cheese Board
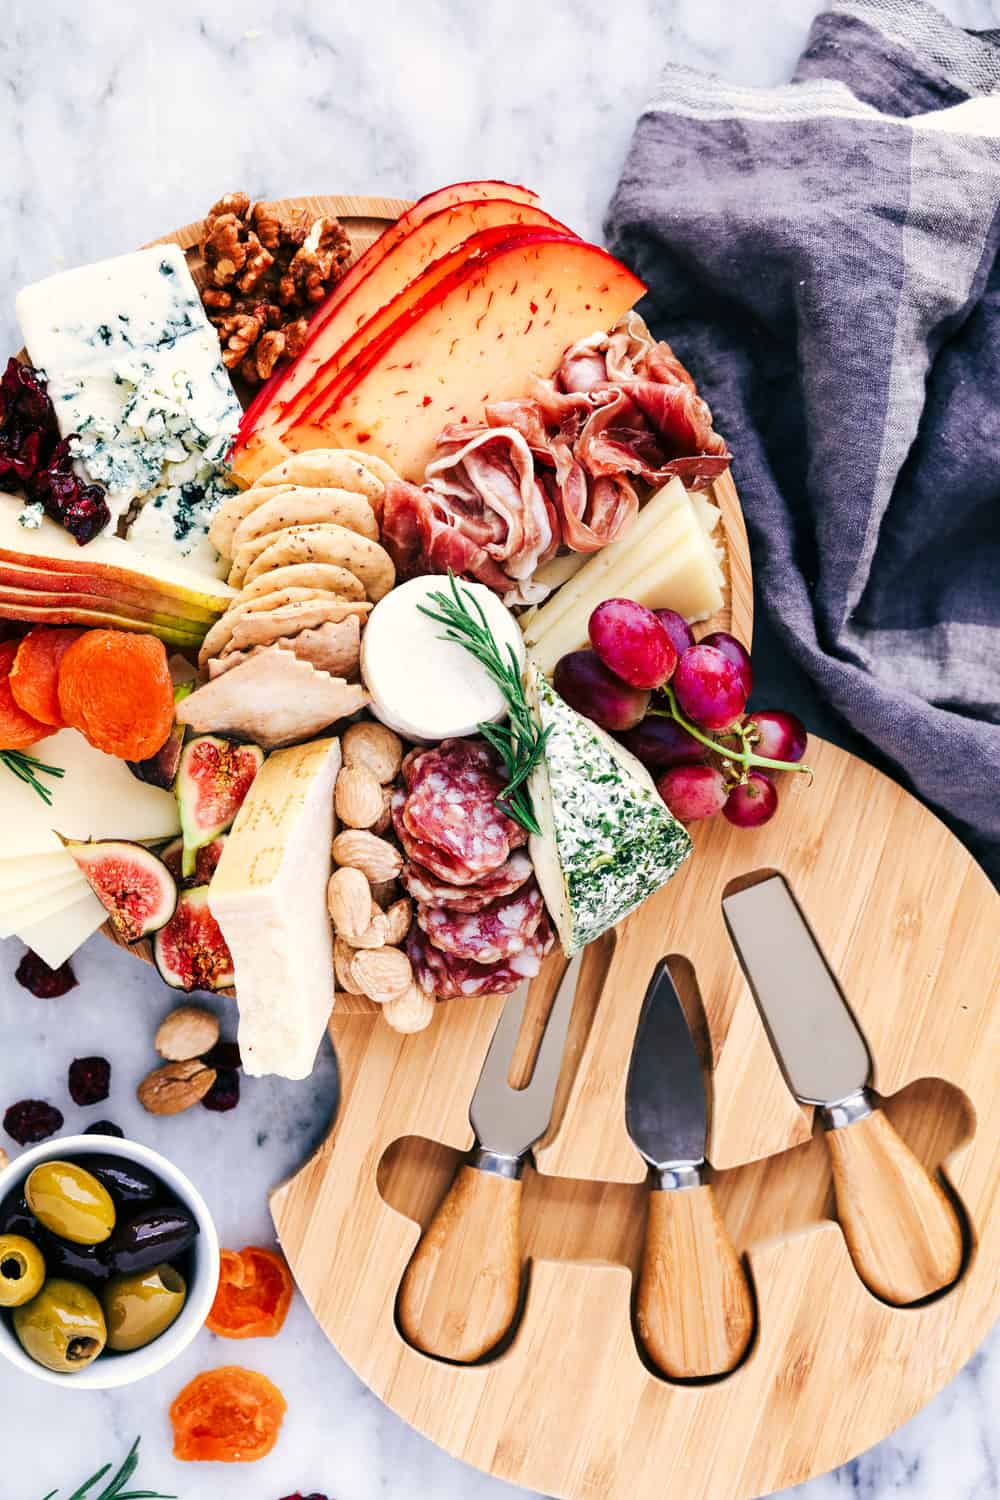
Cheese boards are life. If you invite me to a party and a cheese board is there we will be instant BFF’s. They make such a beautiful presentation and are the perfect way to welcome your guests. The great thing about a cheese board is that there is something there for everyone. Sweet, salty, crunchy… there are so many delicious flavors and textures involved. A cheese board doesn’t have to be complicating and I am here to show you how to create an easy to make cheese board. Step 1: Pick a Cheese Board I love the round board and the utensils and tools needed for serving that slide out from underneath. It is easy to clean and heavy duty. It is perfect for serving guests. I like to serve it on a marble slab with additional jams, mustards, and olives.
Step 2: Add Cheese
What are the best cheeses for a Cheese Board?
Choose cheeses with different textures. Choose soft and creamy cheese such as Brie, a firmer style cheese like cheddar, gouda, or Gruyére, and a hard grating style cheese like Parmigiano Reggiano. I went to my local grocery store, Harmon’s, and they are amazing at giving suggestions for cheese and cut it for you while you are there. You just want to have a good variety of hard and soft cheeses. Step 3: Add meat and salty foods
What is in a charcuterie board?
Charcuterie is a French word for any smoked, dry-cured or cooked meat. I like to make a cheese board with a combination of both cheeses and meats. Adding some prosciutto, salami, ham, and smoked meats add such wonderful variety to your cheese board. Nuts: Nuts add such an amazing crunch and texture to the board you are creating. I love to use almonds, candied walnuts, and cashews. Olives: I like to use a variety of black and green olives. Olives such as kalamata, luque, picholine and cerignola make a great addition. I keep them in a small bowl. Step 4: Add sweet foods Fresh fruits: Fresh fruits such as apples, pears, grapes, make perfect additions. Including a variety and different sizes, colors of grapes will add vibrancy to your board. Figs and pomegranate also add beautiful color. Dried Fruits: I love adding dried fruits such as apricots, and cranberries. This still adds a sweet flavor to your board and they are available all year long.
Step 5: Add crackers and Slices of Bread Crackers and bread are a must when serving cheese. Adding a variety of shapes and flavors of crackers lets your guest choose to their liking. Adding in sliced baguettes or serving breadsticks can also add more textures of bread to choose from. Step 6: Add some spreads Here are some common spreads that are used:
honey horseradish fig jams preserves mustard
What cheese knife do you use?
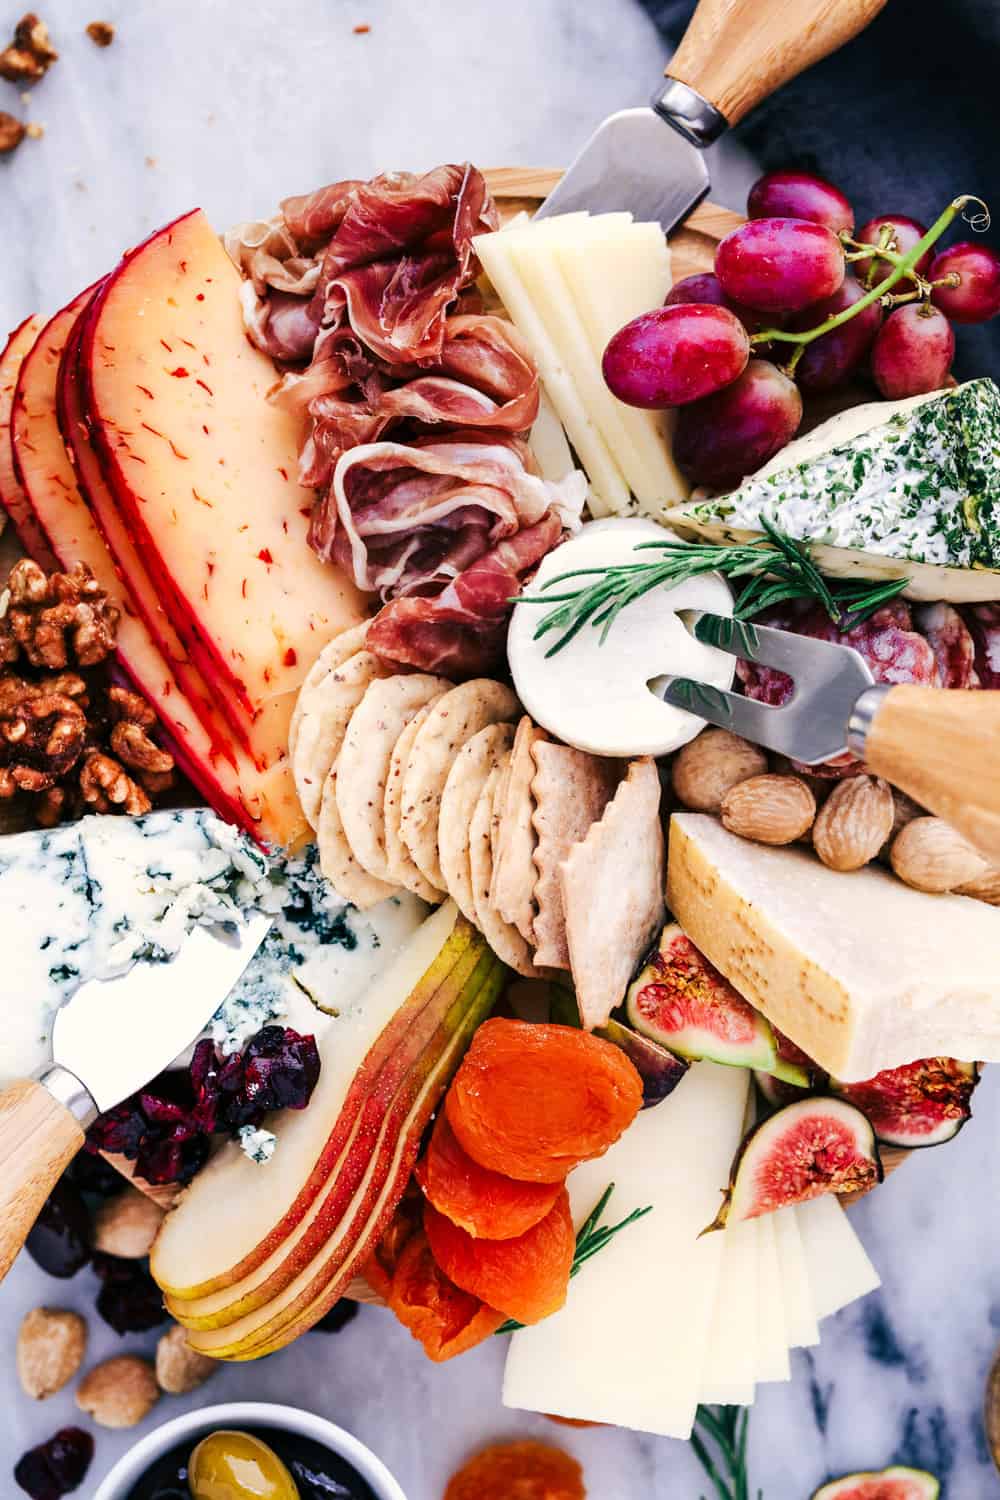
The knife is used for cutting semi-hard or semi-soft cheese. It can also be used for spreading the cheese on crackers and bread. The fork is used for picking up the cheese you have already cut. I think this is why I am so obsessed with my new cheese board. It comes with all of the tools you need and are stored right inside of your cheese board. They are sturdy and cut the cheese like butter. Final tips and Garnish Make sure your cheese board looks full and has plenty of variety for your guests. There is nothing more beautiful than a full and vibrant cheeseboard waiting for your guests. I always garnish mine with a few sprigs of rosemary at the end. This is all it takes to create an awesome cheese board!
The Best Homemade Alfredo Sauce Recipe Ever!
Insanely Delicious Prime Rib Recipe
Lemon Garlic Parmesan Shrimp Pasta


